GitHub Setting Usage
GitHubにpushできるようになるまで
- GitHubのaccountを作ってRepositoryを作成する. 右上の+から。
- そこでclone用のURLをclip boardにcopyする, 何もまだローカルで書いてない場合はgit cloneで持ってきてそこで作業を始めるのが楽。
- Terminalを開いてcdでsetしたいdirectoryを開く
- git init で初期化
- git remote -v で確認
- git remote add origin https:.......でセットする
two factor authをしている場合には //とgithub.comの間に@usernameを入れる。
あとはおなじみのadd, commit -m, pushのながれ。
うまくpushできなければ push -fとかで♪
追加
結構手順が異なる
GitHub Config Setting
- 同じフォルダの.git/configに記述してある。
- git config user.name (or emall)で確認, 追記できる こんな感じ
[remote "origin"]
        url = https://kaede0902@github.com/kaede0902/C_lang.git
        fetch = +refs/heads/*:refs/remotes/origin/*
[branch "master"]
        remote = origin
        merge = refs/heads/master
[user]
        name = kaede0902
        email = kaede0902js@gmail.com
- urlがhttps://github.com/username/rep.git ではダメで、//username@を書き加える必要がある
Accountが二個目でTwo-Factor Authをしてしまっていると こっちもやらないとダメダメ
https://github.com/settings/tokens にアクセスして一時トークンの16進数を取得し、
https://username:HEXHEXHEXHEX@github.com/username/rep をgit clone or remote add originする。
次回以降はclone時にusername@を付け加えるだけでおkかも? 忘れたらvi .git/configで付け足しましょう。
REF
https://qiita.com/tq_jappy/items/6e2f81f372e4abaa5139
TIPS
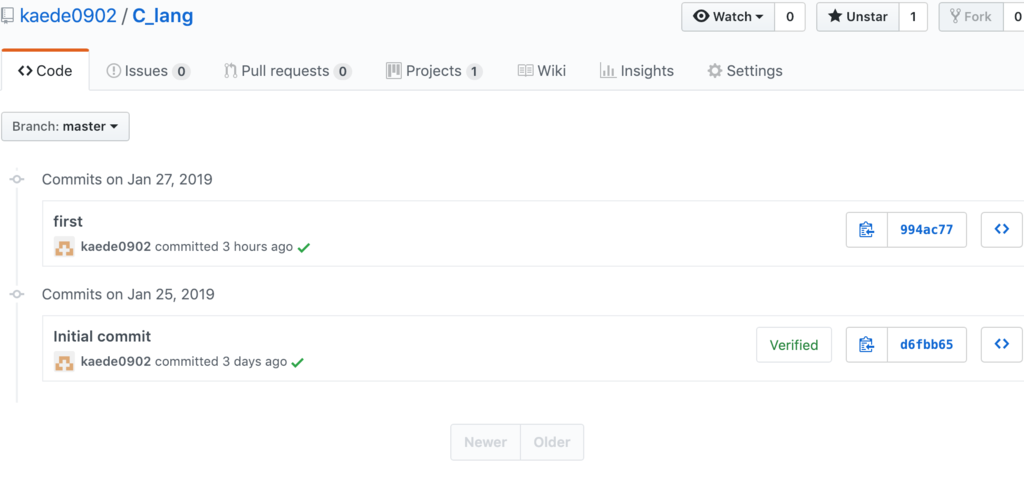
- commit -mはlocalに書き込む段階で, pushがその記録をwebにpushしてくれる。
- commitのhistoryからdiff (どの行が+(追加) or -(削除) )かわかる
